Skip to product information
1 of 4

Truley Unique

Spring Wall Flowers Water-Soluble Transfer Sheet

Spring Wall Flowers Water-Soluble Transfer Sheet

Regular price $2.79 USD
Regular price $0.00 USD Sale price $2.79 USD
Sale Sold out
Shipping calculated at checkout.

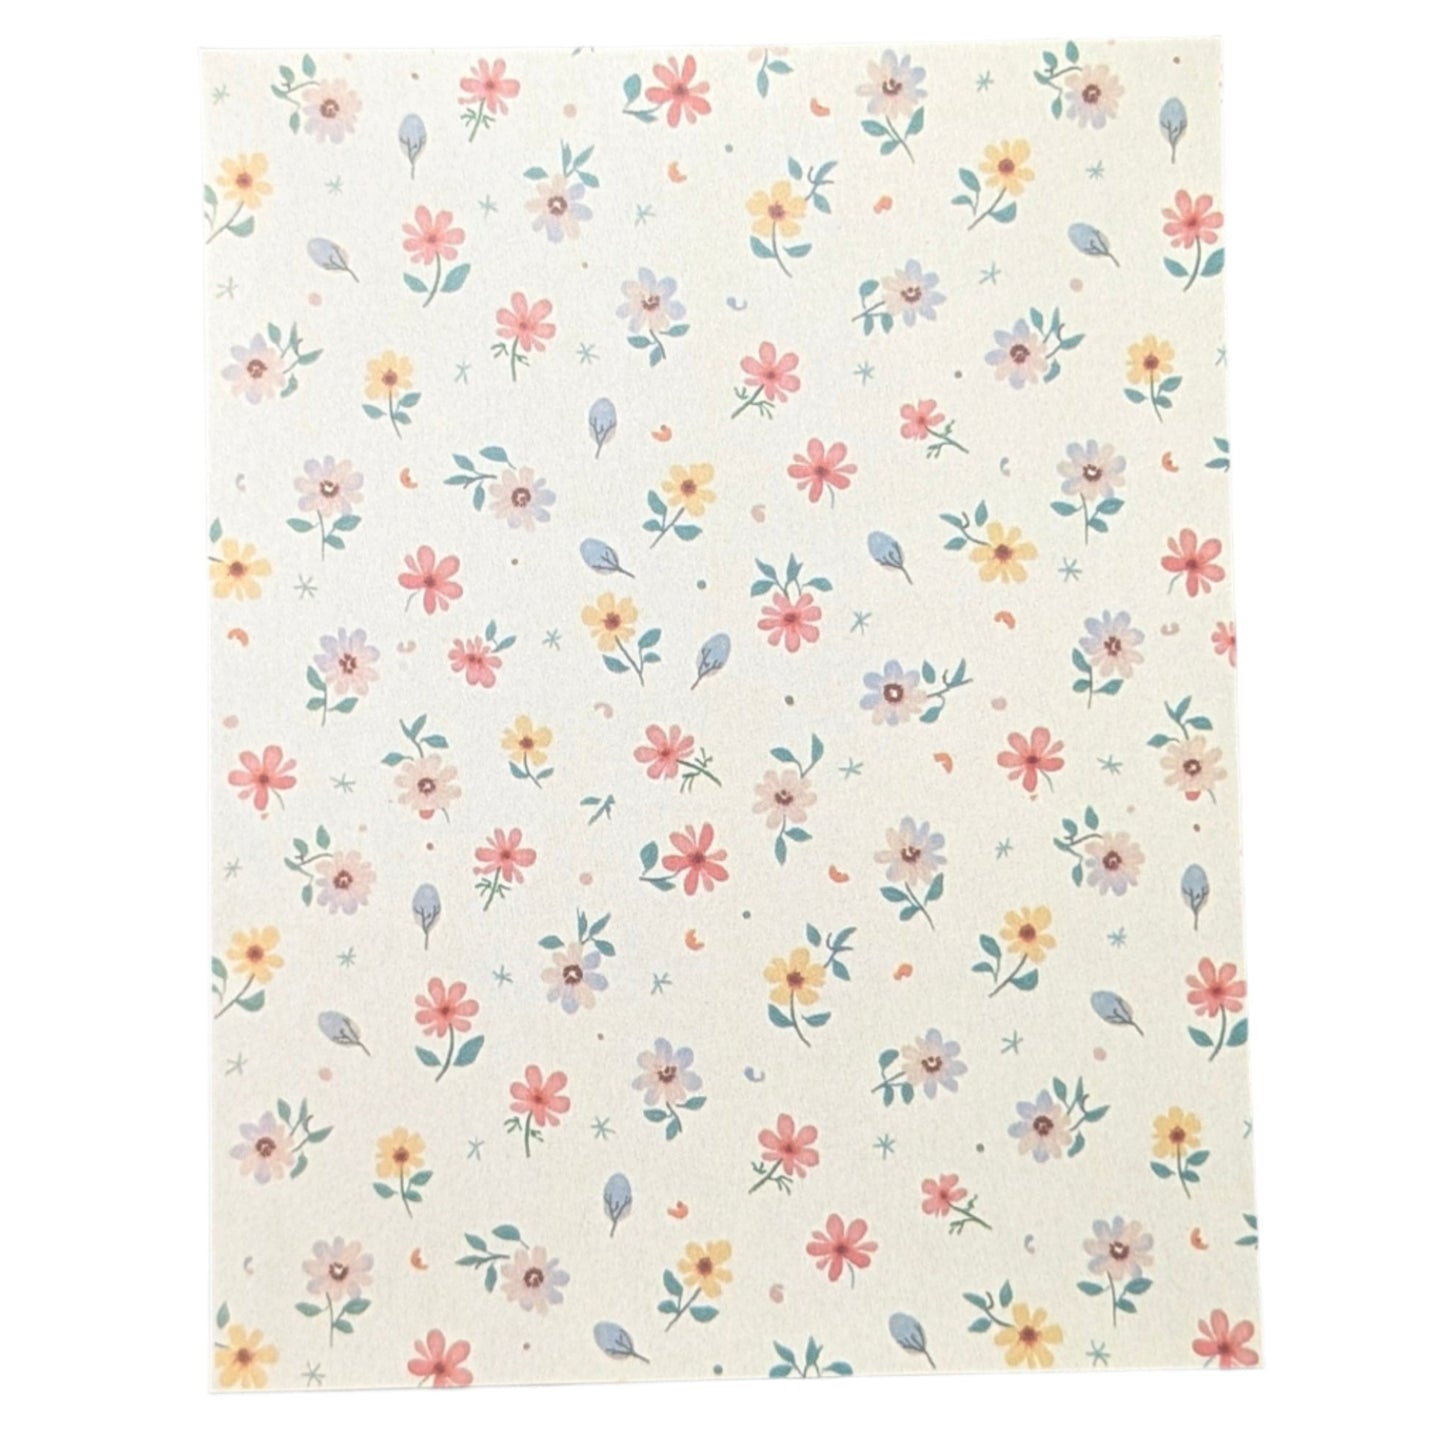
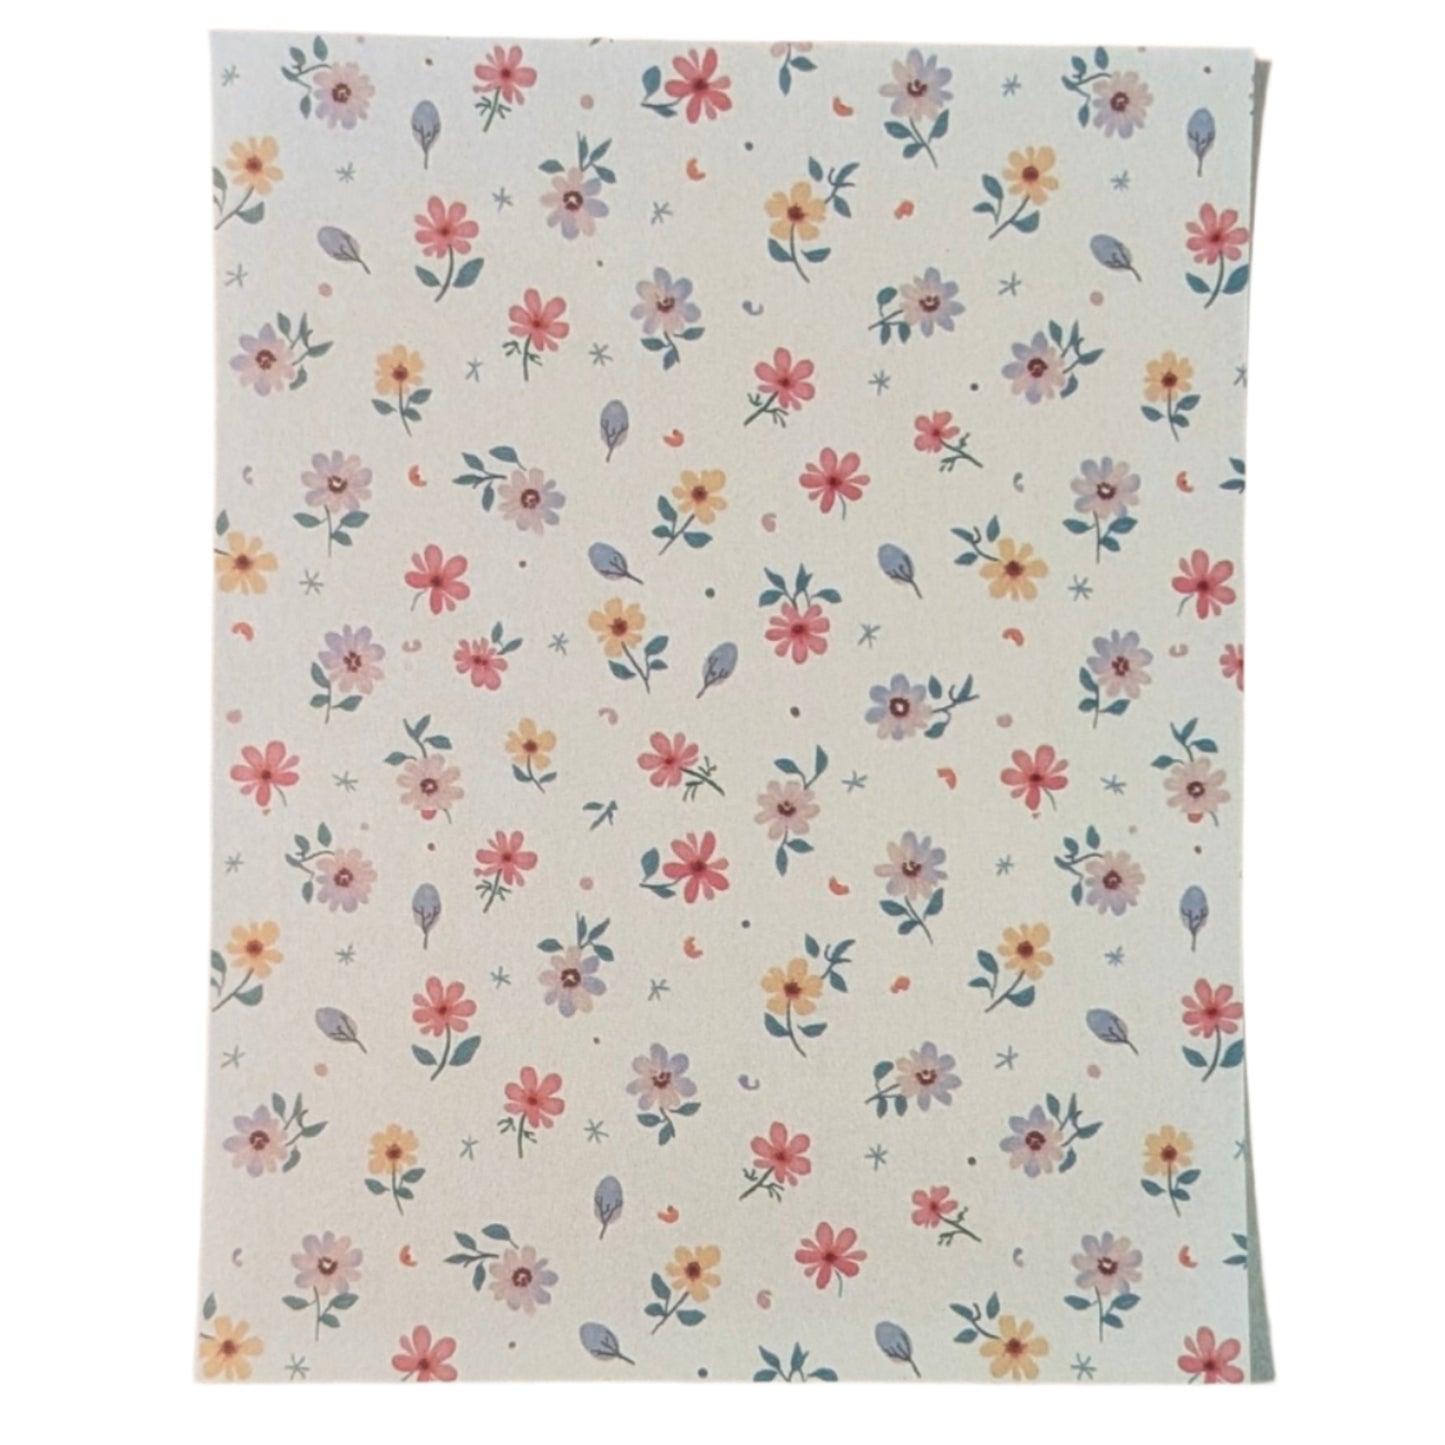
Bring a touch of spring to your polymer clay creations with our Spring Wall Flowers Water-Soluble Transfer Sheet! This delicate design features an array of small purple, blue, pink, and yellow spring flowers with soft petals and leaves, set against an elegant off-white background.

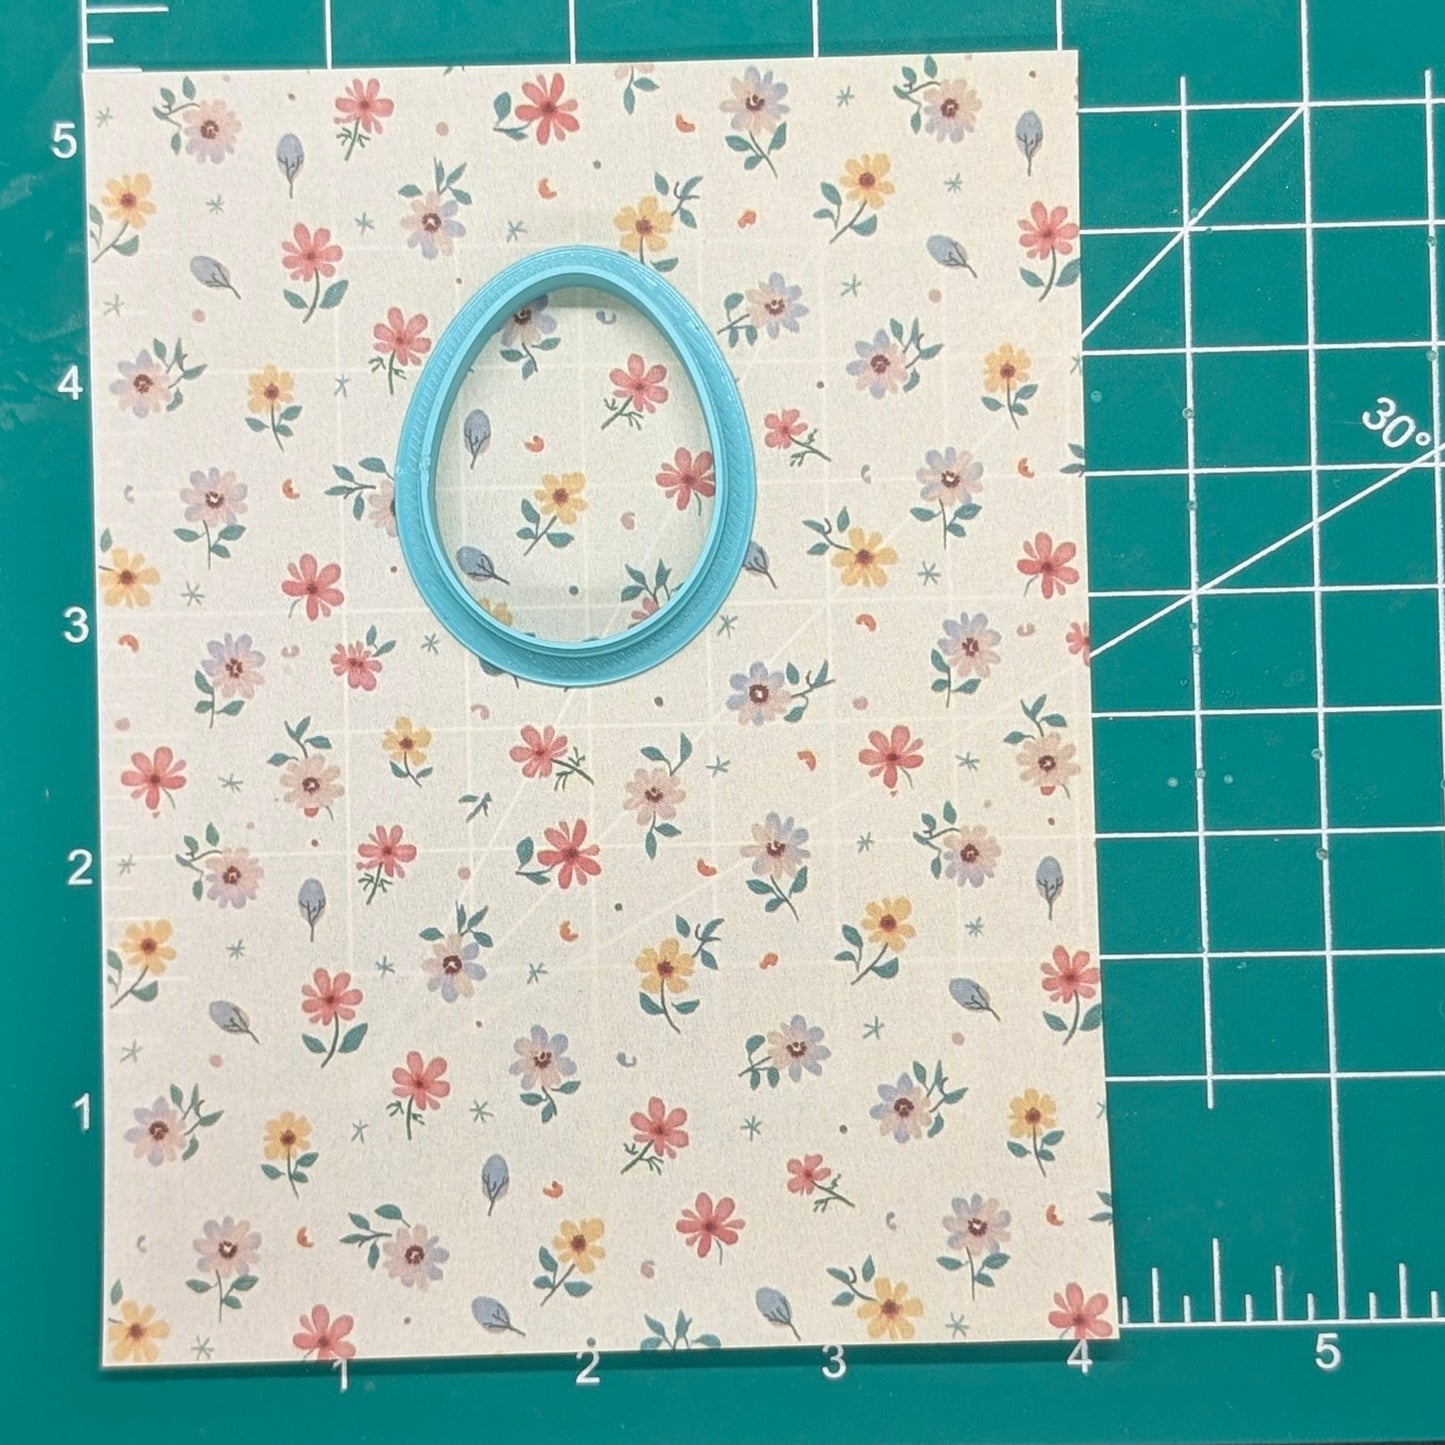
Measuring 5.25" x 4", this transfer sheet effortlessly transfers onto polymer clay—simply saturate with water, let the paper dissolve, and reveal the vibrant floral pattern. No peeling required! Perfect for earrings, pendants, charms, and more, this sheet adds a fresh, botanical feel to your handmade pieces.

Elevate your clay designs with the beauty of spring! 🌸✨

Product Details:
🌸 Design: small purple, blue, pink, and yellow spring flowers with soft petals and leaves, set against an elegant off-white background.
🎨 Background: Soft off-white for a vintage-inspired look
📏 Size: 5.25" x 4"
💧 Application: Apply to polymer clay and saturate with water—the paper dissolves, leaving the design seamlessly transferred onto the surface

***Warning: This product is not food safe***

Materials

Processing & Shipping

The processing time for this item is 1 - 3 business days

Dimensions

Length: 5.25"
Width: 4"

Product Instructions & Safety

***Warning: This product is not food safe***
**Using water-soluble transfer sheets with polymer clay can yield beautiful results when done correctly. Here are some tips for best use:**

### Clay Preparation

1. **Choose the Right Clay**: Ensure you're using a high-quality polymer clay. Brands like Fimo, Premo, and Sculpey are popular choices.
2. **Condition the Clay**: Properly condition the clay by kneading it until it's soft and pliable. This helps in achieving a smooth surface for the transfer.

### Application

3. **Press Firmly**: Place the transfer sheet face down on the clay and gently press it down. Use a roller or your fingers to ensure even contact without air bubbles.
4. **Wait for the Transfer**: Allow the paper to sit on the clay for a minute or two. This helps the image to adhere properly.
5. **Rinse Away Paper**: Use a gentle stream of water from a faucet or gently mist with a spray bottle to remove the paper. Some paper may remain, but this can be cleaned up later.
6. **Let it Dry**: Let the clay dry undisturbed.

**Tip:**
**Avoid Stretching**: Be cautious not to stretch the clay too much after the transfer, as it can distort the image. Once the clay is baked, this is no longer an issue.

### Finishing Touches

7. **Bake Properly**: Follow the clay manufacturer's instructions for baking. Make sure to place the clay on a suitable baking surface to avoid burning or discoloration.
8. **Clean Up**: Rinse away any remaining paper under a gentle stream of water. You may gently rub your finger over the surface to remove any stubborn paper that remains.
9. **Seal the Design (Optional)**: After baking, consider applying a thin layer of polymer clay-friendly varnish or sealer to protect the transferred design and enhance its durability.

### Additional Tips

10. **Practice on Scraps**: Practice the technique on scrap pieces of clay to get a feel for the process before working on your final project.

By following these tips, you can achieve beautiful and precise image transfers onto polymer clay, enhancing your creative projects.

View full details

Customer Reviews

Be the first to write a review
0%
(0)
0%
(0)
0%
(0)
0%
(0)
0%
(0)